Add a new blog post
Here’s how to add a new blog post to the Lupine Studios website:
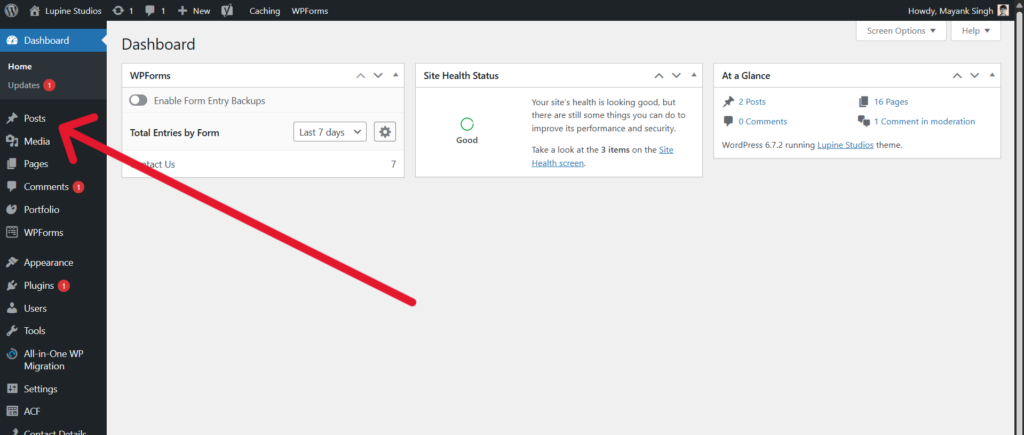
Step 1: Log in to the WordPress admin panel, and from the left sidebar, click on ‘Posts’.
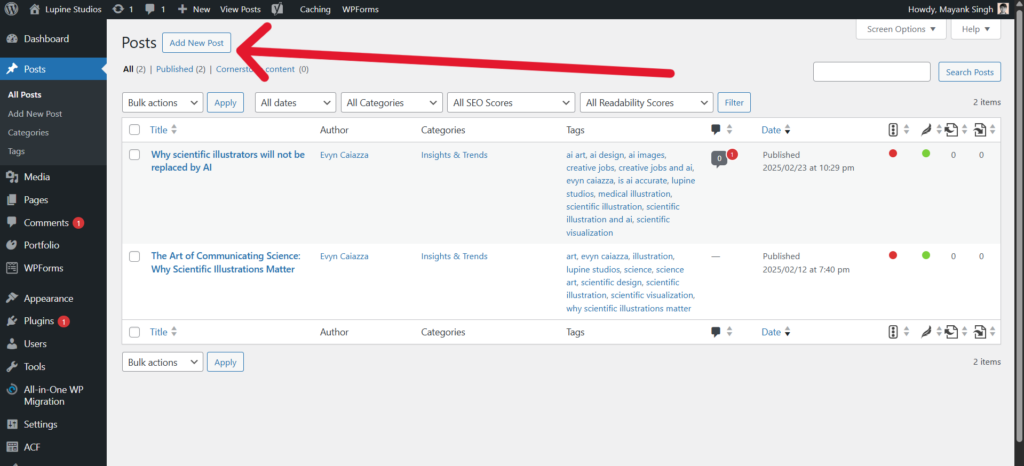
Step 2: Click ‘Add New’.
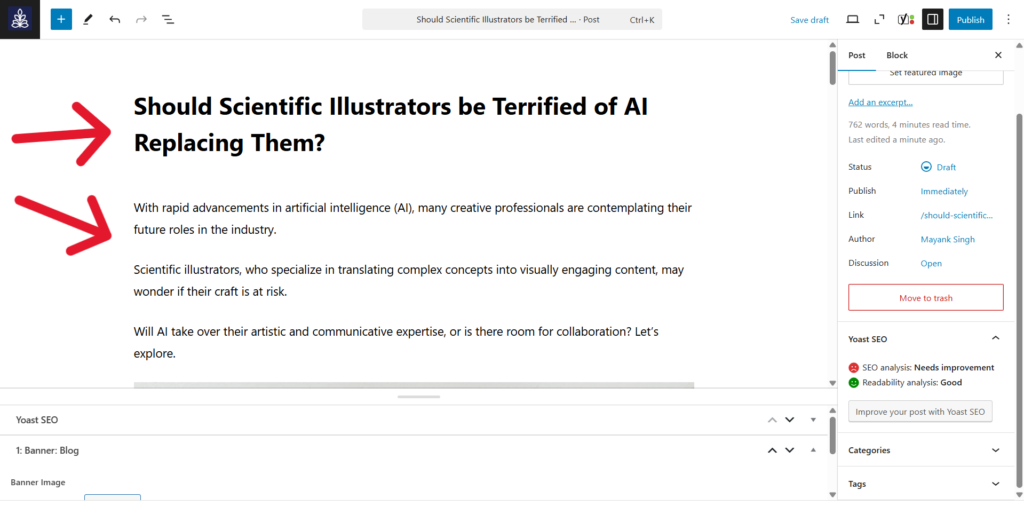
Step 3: Enter your blog title at the top, and write your content in the main editor area.
Step 4: On the right-hand side, you can:
- Choose or create a category for the blog post
- Set a featured image (this appears in blog previews and social shares)
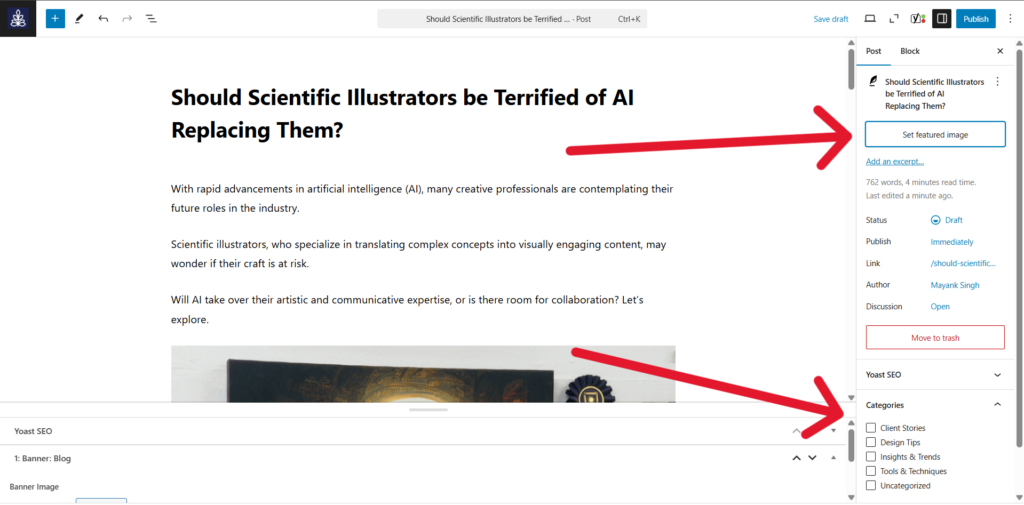
Note: Recommended size of featured images: 1200px wide & 675px high.
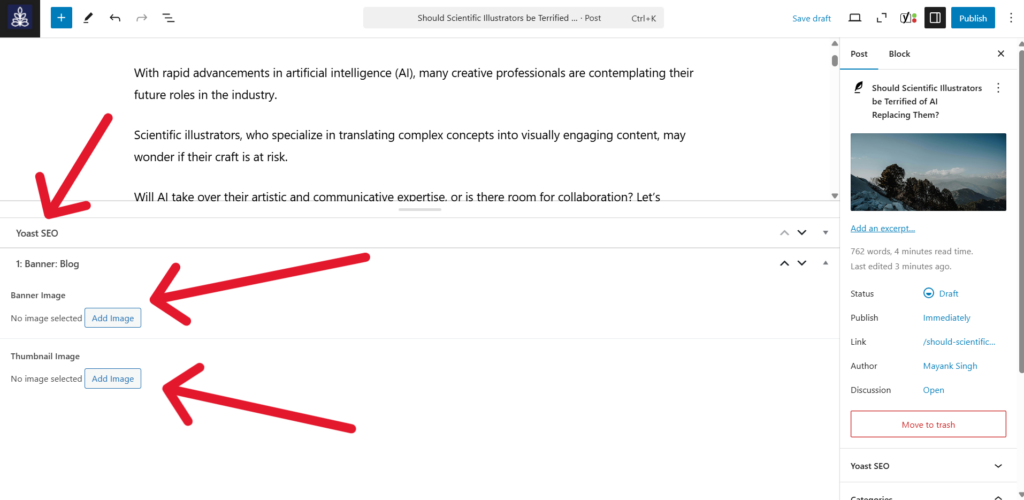
Step 5: You might also notice a panel at the bottom. It will have the option to add a banner image & thumbnail image. You can also update SEO related settings under the ‘Yoast SEO’ block.
Step 6: Once you’re done editing, you can preview the post by clicking in the ‘laptop icon’ in the top-right.

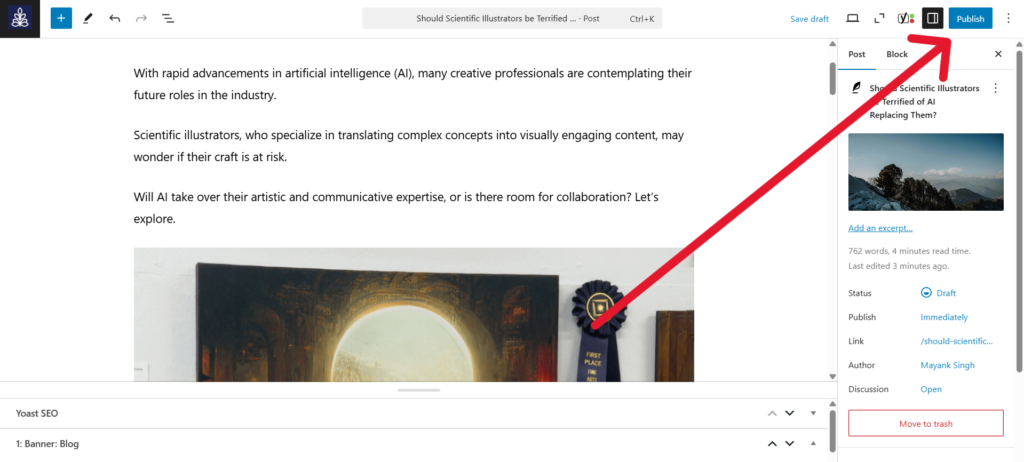
Step 7: When everything looks good, click ‘Publish’ to make the blog live.
Adding ‘Notes’ within blogs
You might notice such blocks on the blog section of your website hosted on the test server:

Here are the steps to add similar section:
Step 1: Write a simple paragraph. Here’s the example ↓
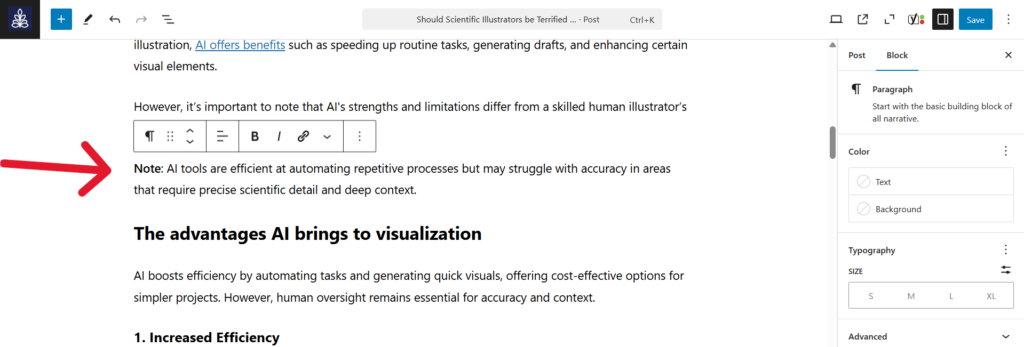
As you can see, this text block is a normal paragraph.
Step 2: Click on the paragraph icon to change the block type.
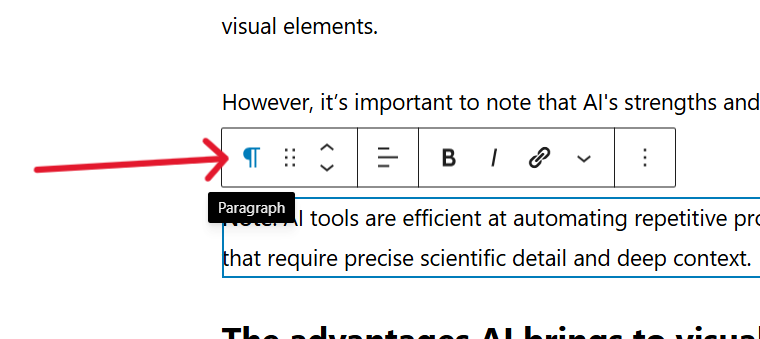
Step 3: Select ‘Quote’ from the list.
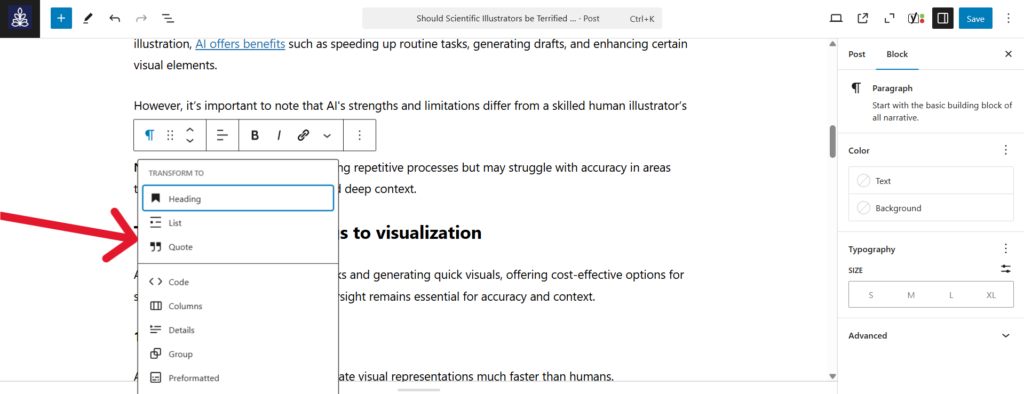
Step 4: Click ‘Save’.
Optional:
- If you’d like to schedule the post for later, click the ‘Immediately’ option under ‘Publish’ and set your preferred date and time.
- You can also save the post as a draft if you’re not ready to publish yet.


